Images are an internal part that is widely used to depict any concept in a simplified manner. They are used to enhance the design and the display of a web page.HTML language provides many inbuilt tags for easily inserting an image in a webpage.
In this tutorial, we will learn the various tags to include images in HTML.
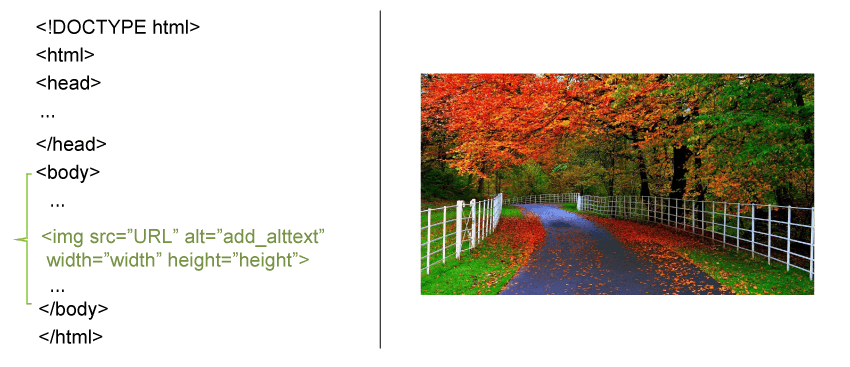
HTML Images Syntax
1. <IMG>
Technically, Images are never inserted in any webpage. Rather, they are linked to their respective web pages. The HTML <img> tag is commonly used to insert an image in any web page. The <img> tag works by creating a holding space for the selected image. By default, the HTML <img> tag is empty and doesn’t hold any value. It only contains attributes that do not include a closing tag.
The two attributes of the <img> tag are as follows:
- IMG src attribute- This attribute defines the path to the specified image.
- IMG alt attribute – This attribute fetches an alternate text for the given image
2. IMG src Attribute
The HTML <img> src attribute defines the path (URL) to the image.
<img src="google_logo.jpg"> Code:
<!DOCTYPE html>
<html>
<body>
<h2>HTML  Image </h2>
<p>The <img> alt attribute is sued to display the specific image content, so the HTML users who cannot load the image in time can atleast get an idea of what the image include:</p>
<img src="google_logo.jpg" alt="Welcome to google" width="360" height="145">
</body>
</html>
3. alt Attribute
The HTML alt attribute is used to provide an alternate text for the given image, if the website user cannot view the image due to delay in loading, slow internet connections or any other reason.
The content of the alt attribute should be precise and it should describe the purpose of the image.
Syntax
<img src="img_of_chania.jpg" alt="Flowers found in Chania"> Code:
<!DOCTYPE html>
<html>
<body>
<h2>Alternative Image text</h2>
<p>The <img> alt attribute is sued to display the specific image content, so the HTML users who cannot load the image in time can atleast get an idea of what the image include:</p>
<img src="google.jpg" alt="Welcome to google" width="360" height="145">
</body>
</html>
4. Image Size – Width and Height
After inserting the image, it is important to specify the height and width, so it fits in the webpage properly. Therefore, HTML provides the style attribute to define the height and width of an image.
Syntax
<img src="my_image.jpg" alt="Welcome to website" style="width:600px; height:600px;"> Code:
<!DOCTYPE html>
<html>
<body>
<h2>Image with Specified Height and Width </h2>
<p>In the following code, we have use the HTML style attribute to define the width and height of our webpage's image:</p>
<img src="C:\Users\REEMA\OneDrive\Desktop" alt="Welcome to google" style="width:400px;height:135px;">
</body>
</html>
5. HTML Image as a link
HTML provides the feature to use the image as a link. For this the HTML programmer need to use the <img> tag inside the HTML <a> tag:
Syntax
<a href="https://www.google.com/">
<img src="C:\Users\REEMA\OneDrive\Desktop" alt="Welcome to JavaTpoint" style="width:400px;height:135px;">
</a>
Code:
<!DOCTYPE html>
<html>
<body>
<h2>Link an Image</h2>
<p>In the following code, we have use the HTML <a> tag to link an image.</p>
<a href="https://www.javatpoint.com/">
<img src="C:\Users\REEMA\OneDrive\Desktop" alt="Welcome to JavaTpoint" style="width:400px;height:135px;">
</a>
</body>
</html>